Are you looking for something to do with snow besides shovel it? 🙂 How about some snow photography? Here are eight great tips for photographing snow.

Spread the joy! Share today’s tweetable!
Video Transcript
Are you looking for something to do with snow besides shovel it? 🙂 How about photographing it? Hi, I’m Julie from Ultimate Photo Tips, and today, I’m going to give you eight tips for photographing snow.
The first four tips are about photographing falling snow flakes.
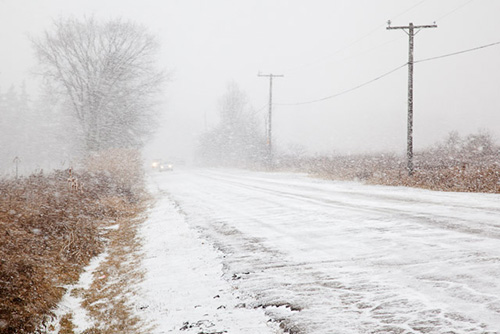
© Julie Waterhouse Photography
focal length: 100mm
Snow Photography Tip Number 1 is about choosing the right focal length for your lens to get the effect you want. A long lens will compress distance, so you can get a layered look to the falling snow, with snowflakes at different distances appearing as different sizes. If it’s not snowing very hard, this is a good way to get a lot of flakes into your image. This photo was taken with a focal length of 100mm.
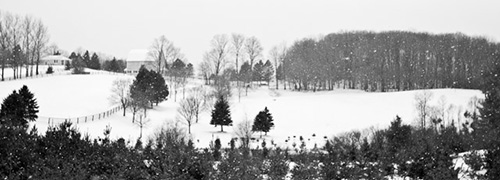
© Julie Waterhouse Photography
focal length: 30mm
A wide angle lens can take in more of the scene, but it has to be snowing quite hard to get a layered look. This was shot with a 30mm lens.

© Julie Waterhouse Photography
aperture: f/4.0
Snow Photography Tip Number 2 is about choosing an aperture. When you shoot wide open, you can get snow flake bokeh, with some out of focus flakes. This can work well in combination with a long lens. If you stop you lens down and use a small aperture, you can get your flakes sharp, but be careful. If your shutter speed gets too long, to compensate for the small aperture, your flakes may start to appear as streaks. This shot was taken at f/4. Watch out for those big, out of focus flakes.
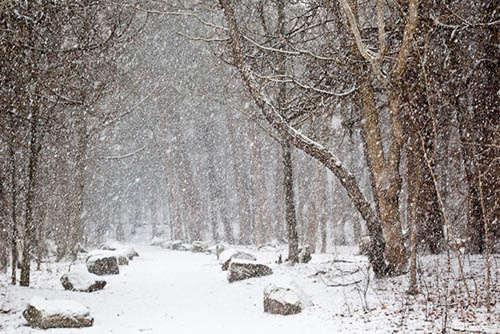
© Julie Waterhouse Photography
shutter speed: 1/200s
Snow Photography Tip Number 3 is about choosing your shutter speed. You need a fast shutter speed to freeze the flakes. This one was taken at 1/200 of a second.
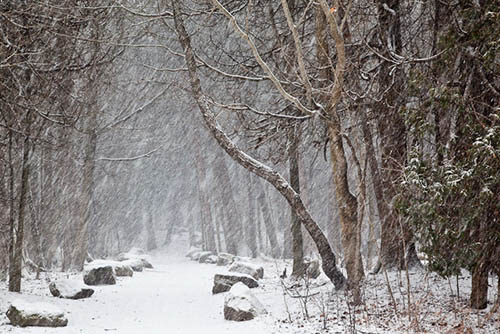
© Julie Waterhouse Photography
shutter speed: 1/60s
The longer you leave the shutter open, the more your snow flakes will appear as lines or streaks. This one was taken at 1/60 of a second.
© Julie Waterhouse Photography
shutter speed: 1/60s
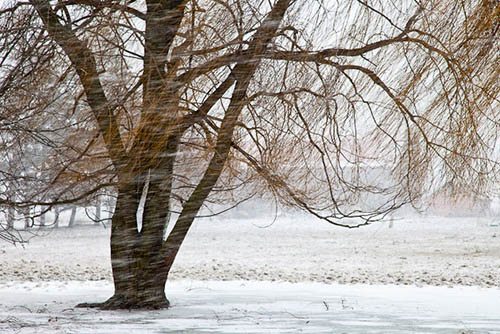
Exactly which shutter speed to choose depends on how much wind there is too. This was also shot at 1/60, but the streaks are much longer because the wind was blowing hard.
© Julie Waterhouse Photography
flash: fired
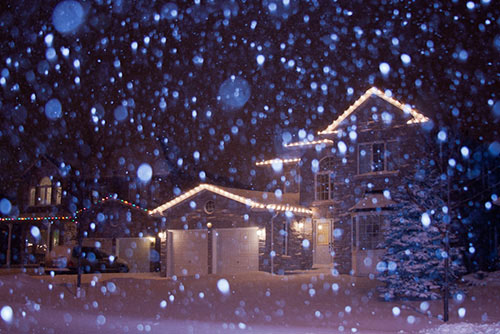
Snow Photography Tip Number 4: You can use flash when you’re shooting snow in low light to freeze the flakes. You should take lots of shots when you try this because you often get one or two flakes close to the lens that turn out as large white splotches over your image.
© Julie Waterhouse Photography
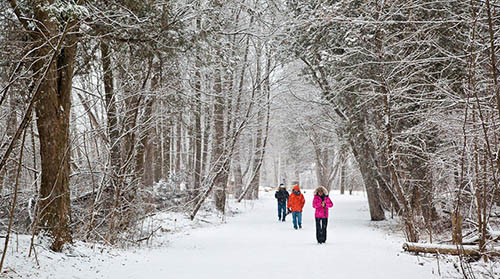
Snow Photography Tip Number 5: Include something with a pop of color to liven up your image!
© Julie Waterhouse Photography
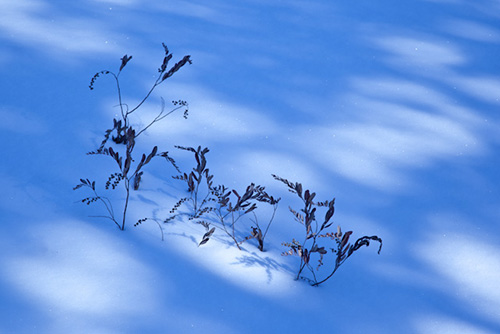
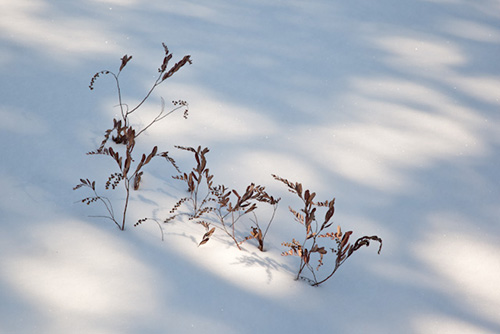
white balance is off
Snow Photography Tip Number 6: Watch your white balance. If you’re photographing snow in the shade, the only light is reflected light from the sky, and your camera’s auto white balance can be fooled into giving you blue snow.
© Julie Waterhouse Photography
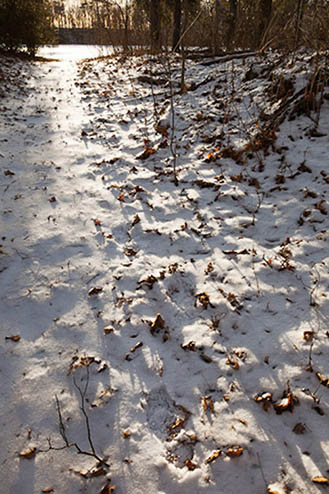
corrected white balance
Shooting with a white balance set to "Shade" can help to correct this.
© Julie Waterhouse Photography
Snow Photography Tip Number 7: Photographing snow on a sunny day can be a tricky situation for your light meter. Keep an eye on your histogram, and watch for blown out highlights.
© Julie Waterhouse Photography
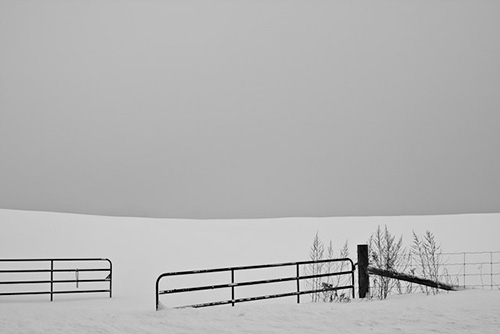
exposed on meter
Finally, Snow Photography Tip Number 8! Let’s not forget about the most commonly cited tip. If you use your camera’s meter to expose an expanse of snow, it will be rendered as grey.
© Julie Waterhouse Photography
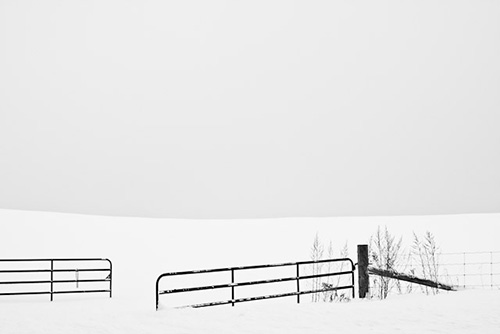
exposed 2 stops over meter
You’ll need to tell your camera to over-expose by 1.5 to 2 full stops to get your whites looking white!
Whew! That’s it! Now grab your camera, and go enjoy the snow! For more great photo tips, please visit my website at ultimate-photo-tips.com, and make sure to sign up for my mailing list while you’re there.
Happy shooting and I’ll see you next time!